I built a terrarium and have been doing a fair amount of research on the subject recently. Terrariums are the perfect way to bring nature into your home in a clean, creative and unique way. No terrariums are alike and every person who makes one can add their own personal flair and details.
A very common and easy plant to use is the tillandsia (aka – airplant).The tillandsia hails from the bromeliad family and is known for its’ distinct ability to survive on a very small amount of water, hence the pet name ‘air’ plant. In most climates the ‘air’ plant will need some light misting to simulate its’ natural humid environment. In Florida, these plants grow everywhere and need nothing but the air outside to survive. Pretty humid place, especially in the summer.
Once a week you need to mist your plant trying to aim the stream down towards the base of the plant. The terrarium should have drainage so sand or fine stone is your first layer, then larger rocks for your second layer.
The fun part is adding your own unique touches. You can add elements based on the rooms’ theme. I have put a picture below of the terrarium I made sitting on a window ledge and then hanging in my daughters washroom. When I decided to have it be part of my daughters area I found some cute inspirations to add to the piece. I added an artificial orchid and put a jack inside as well. I also added her favorite ‘pet’ rock and can’t wait to see her reaction when she sees the addition to her room.
Here are the step by step pics I took to building a terrarium.

Assemble items: container, plant, rocks, sand, dry elements such as moss and decorations
 Pour sand into bottom of container.
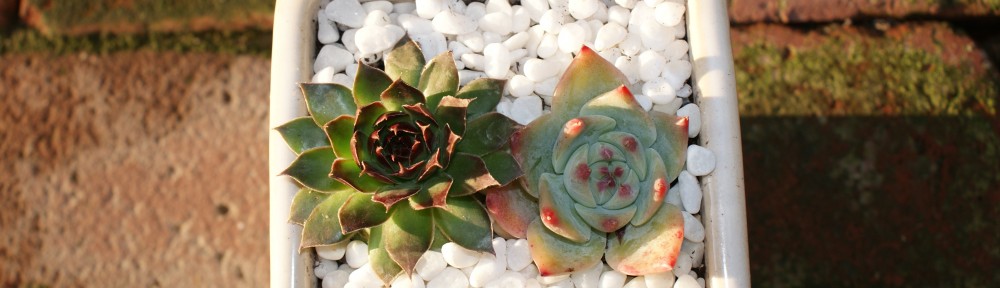
 Place rocks over top of the sand.
 Position your plant in the container and add dry elements (moss, branches)
 Lightly but thoroughly mist your plant aiming the stream towards the base of plant.
 Place your plant for viewing!

 Add your own unique touches like an artificial orchid, pet rock, toy jack!

